How to get a VISA for Canada

How to get a VISA for Canada

To study in Canada you need to study permit and a visa.  However, you don’t need to apply for both or pay an additional fee.  The visa will automatically be issued at the same time as your study permit.

You can apply for a study permit either online or through a paper application.  Paper application takes a longer time than the online application. While applying online you will have to submit a digital copy of your documents. If you decide to go with paper application anyway, please remember you will have to pay visa application center (VAC) service fees in addition to the study permit fee. The processing time for VAC in Nepal, in general, is 6 weeks. It does not include transit time between the VAC and IRCC offices in Canada.

Before you apply

Before you apply for a study permit, make sure you have:

  • Proof of acceptance to an educational institution
  • Proof of identity
  • Proof of financial support
  1. Proof of acceptance

After you have done thorough research about where in Canada and which university you plan to attend and applied to it, the respective educational institution in Canada sends you the letter of acceptance. You need to include the original letter of acceptance with your study permit application.

  1. Proof of identity

You need the following documents to apply for a study permit:

  • A valid passport or travel document.
  • Two recent passport-size photos.

Both of the above apply to you and each accompanying family member.

  1. Proof of financial support

It is essential that you show the visa officers that you have sufficient funds to support yourself and the family members who accompany while you are in Canada.

If you are a single student, the minimum fund you need to show is Tuition* plus $10,000 for a 12-month period. If one family member is accompanying you, you will need to add $4000 for a 12-month period and $3000 for each additional family member.

* The Tuition fee varies according to the university you are attending.  

Note:  You may want to apply to renew your study permit from within Canada if you decide to continue studying in Canada. Then at that time, you need to submit a Letter of explanation along with these documents.

After you apply

After the visa office receives your application, you may be required to go through medical checkups and provide police reports.  Visa officers ask you to do so in both cases.  If they ask for the medical information, the processing time of your application increases by more than three months.

If your application is approved:

A letter of introduction will be sent to you confirming the approval. This letter is not your study permit. However, keep the letter safe. You will be required to bring the letter of introduction with you to show to immigration officials at the point of entry when you arrive in Canada. For a Nepalese citizen, a visitor visa (temporary resident visa) will also be issued. The visa will be in your passport.

Links and references:
Study permit
CIC website
Nepal VAC
IRCC
Fees

How to get a VISA for New Zealand

How to get a VISA for New Zealand

If you have decided to savor New Zealand’s high-quality teaching standards and gain internationally recognized qualifications, we will walk you through the processes of getting a study visa to New Zealand. If you want to bring your partner or children with you, they can apply for visas based on their relationship to you. The application can be made online or in the paper form. Most online applications are processed within 20 days, and most paper applications within 25 days, but it can take longer in some situations.

Before you apply

Before you apply for a study, you need to make sure you have:

  • Proof of acceptance to an educational institution
  • Proof of financial support
  1. Proof of acceptance
    After you have successfully applied to the educational institution (a university or a Pathway education provider) of your choice, the educational institution should offer you a place. However, keep in mind to verify that the institution of your choice is also approved by the New Zealand Qualifications Authority.
  2. Proof of financial support
    It is essential that you show the visa officers that you have sufficient funds to support yourself(and any dependent children or partner) during your study in New Zealand.  You may also be required to show funds to buy an air ticket to return to your home country after your study if you don’t have one already.

Note: If you are under 18 years of age, then New Zealand immigration requires you to provide a written guarantee from an institution or person that suitable accommodation is available to you in New Zealand.

After you apply

You can track the progress of your visa application by logging in to your account if applied online or by directly contacting the immigration office.

If your application is approved:

You will be notified if your visa application is approved or not. If everything goes all right and you are approved, hurray! Now is the time to make some pre-departure plans.

Links and references:
Application portal

How to get a F-1 Visa for United States

How to get a F-1 Visa for United States

In order for a citizen of a foreign country to enter the United States, a visa is required. The visa may be a non-immigrant visa or an immigrant visa. Nonimmigrant visa lets you stay for a temporary time period while the immigrant visa makes you the permanent resident of the United States.

Any international student wishing to study in the United States should obtain a student visa. The student visa can be an F-1 visa or an M-1 visa based on your course of study and the type of school you plan to attend

To attend : The required visa category is :
University or college F
High School
Private elementary school
Seminary
Conservatory
Another academic institution, including a language training program
Vocational or other recognized nonacademic institution, other than a language training program M
Source: Bureau of Consular Affairs, U.S. Department of State

Before Applying For Visa

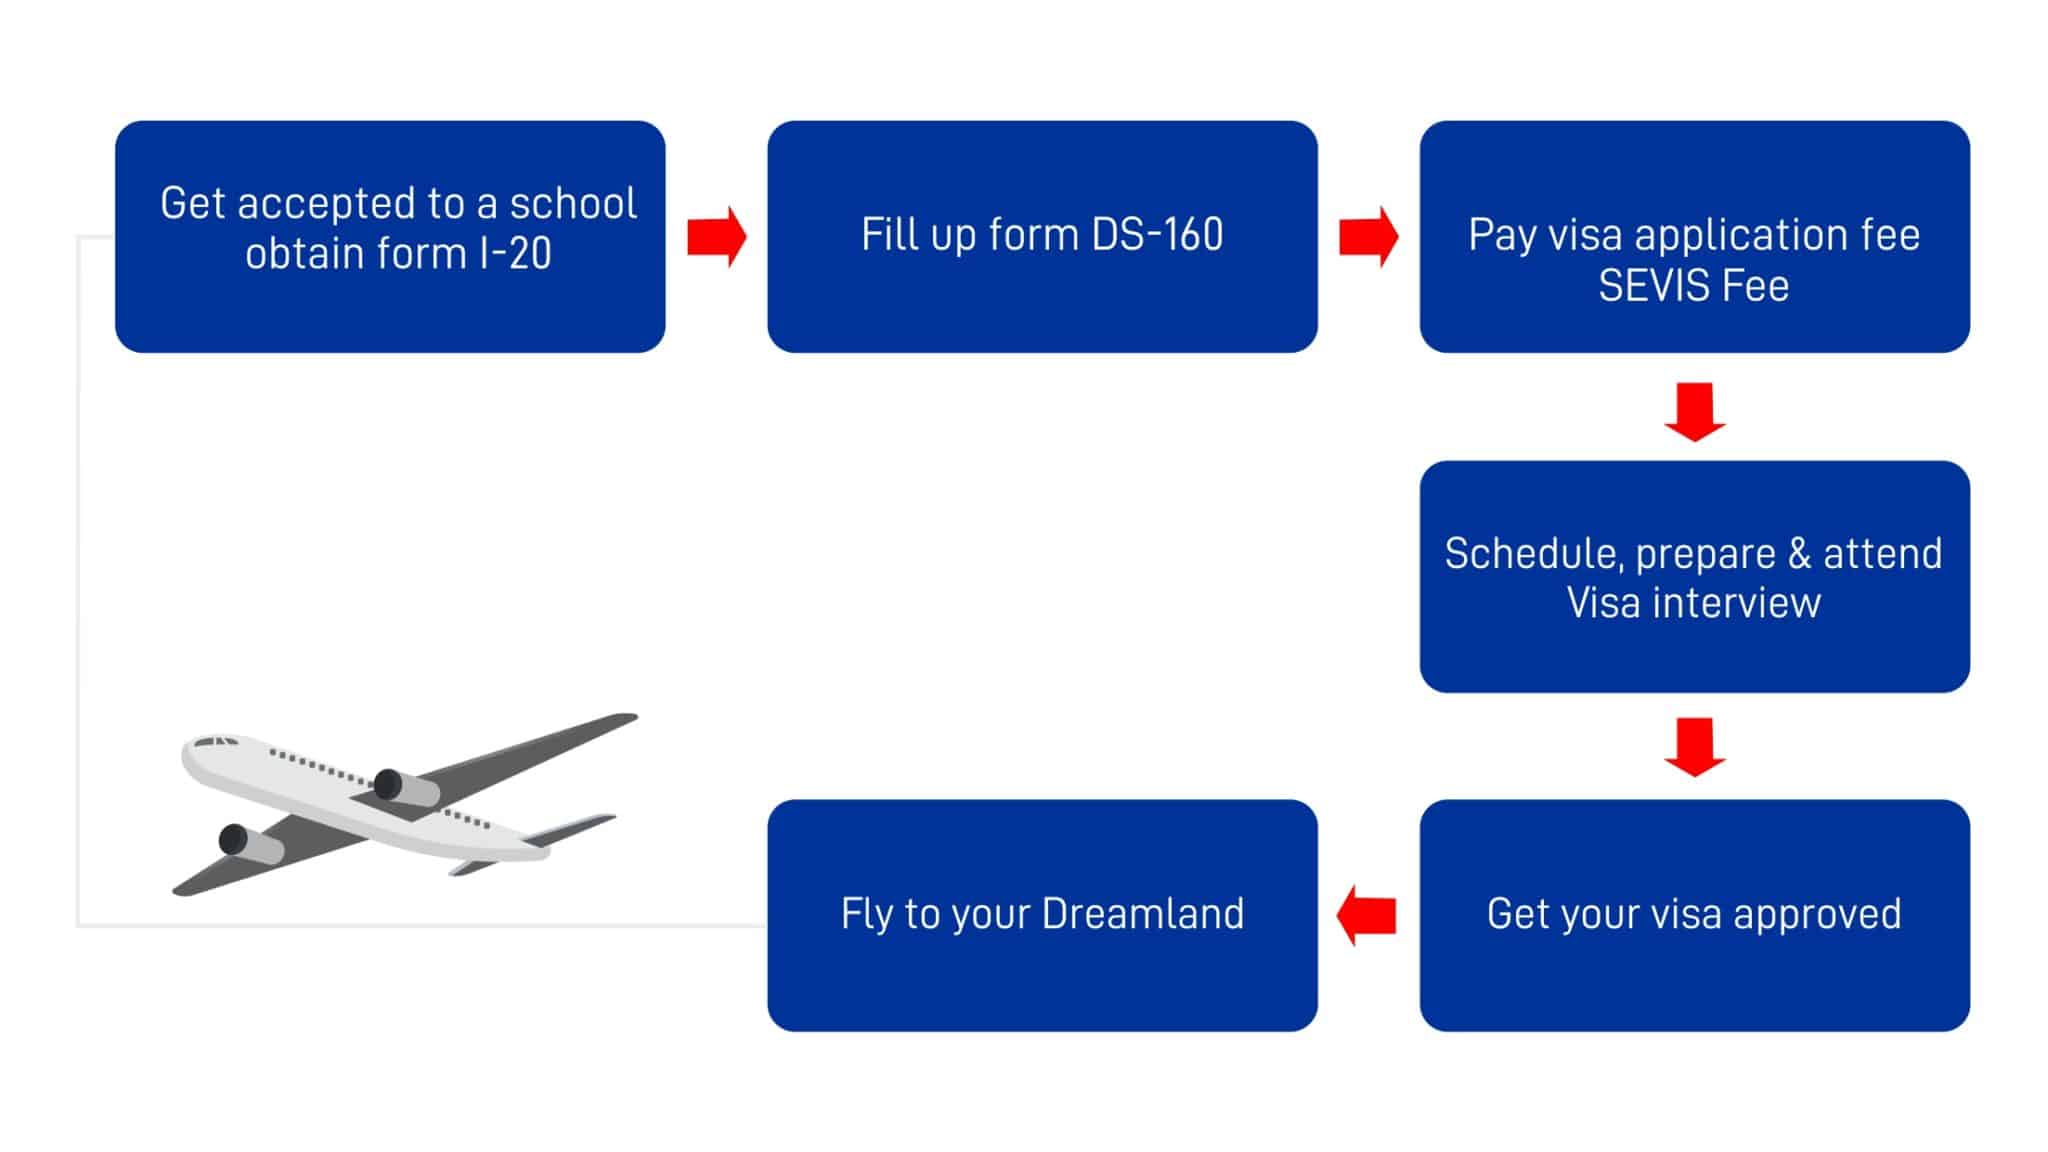
Visa application process is not a standalone process. Before you go to apply for a student visa, you must first apply to and accepted by a SEVP (Student and Exchange Visitor Program) approved school. There are thousands of schools and colleges in USA to choose from and the list will narrow down based on your preferences. When you are accepted by the U.S. school you plan to attend, you will be enrolled in the Student and Exchange Visitor Information System (SEVIS).  The U.S. school will provide you with a Form I-20 to present to the consular officer when you attend your visa interview.

  • If a student wants to take his dependent family member(s) –spouse and /or children- – they need to obtain individual Form I-20s but are not required to pay the SEVIS fee.


Student Visa application process

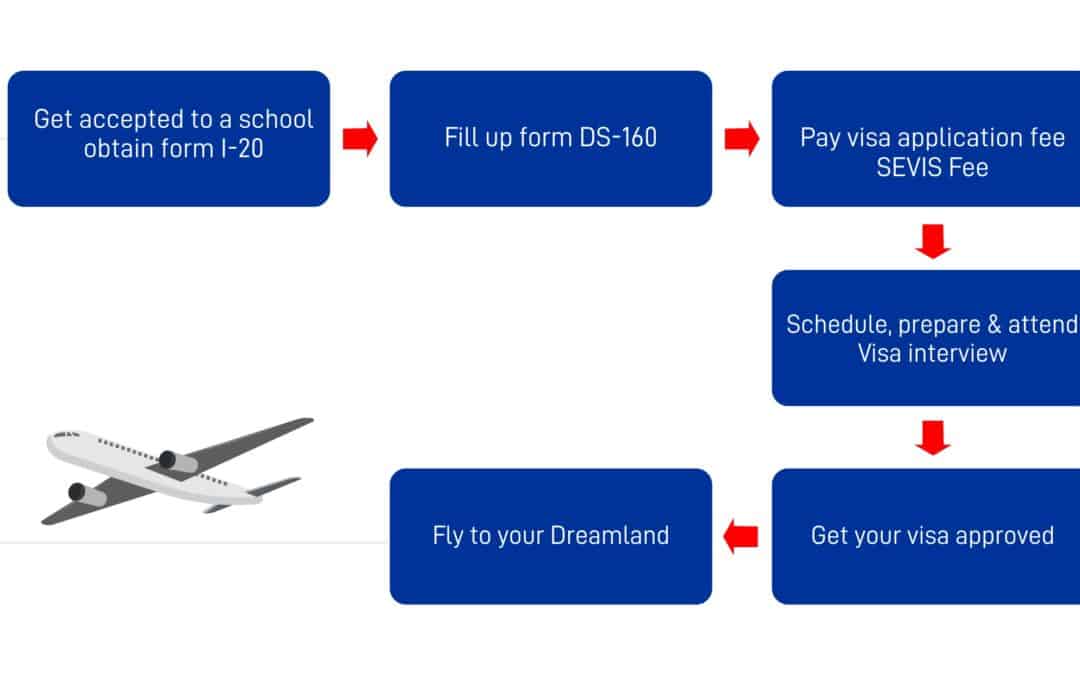
The application process for a student visa can be summarized under the following headings:


Determine your visa type

Determine whether you need an F-1 visa or an M-1 visa based on your course of study and the type of school you plan to attend.

Complete visa application

Fill up the DS-160 Form. Along with other information, you are required to upload a photograph taken within the last six months as a part of the DS-160 process.  You will need your DS-160 number to book your appointment. Keep the confirmation page safe for print of it is required for the interview at the U.S. Embassy.

Pay fees

Pay Visa Application Fee

Now is the time to pay visa fee. The visa fee is non-refundable and non-transferrable. There are several options to pay your visa fees- by cash at Nepal Investment Bank Limited (NIBL), ATM, or by Online. You will need to create a profile by visiting website dedicated to Apply for US Visa specific to Nepal and print a copy of deposit slip to take to bank along with you. You will have to pay NPR 17600. Keep your receipt number to book your visa appointment. This receipt is valid for one year from the date of payment.

Document Checklist

  • A printed copy of your DS-160 confirmation page, signed form I-20, one photograph taken ssports, and the original visa and SEVIS fee paymewithin the last six months, your current and all old pant receipt

Supporting Documents

  • Academic documents that show scholastic preparation. Useful documents include school transcripts (original copies are preferred) with grades, public examination certificates (A-levels, etc.), standardized test scores (SAT, TOEFL, etc.), and diplomas.
  • Financial and any other documents to support your application. It might include original copies of bank statements.
  • Bring proof of your relationship to the sponsor if you are financially sponsored by another person.

Applicants with dependents must also provide:

  • Proof of the student’s relationship to his or her spouse and/or child (e.g., marriage and birth certificates)

Check out Document Checklist needed for applying to US Universities


Important Links:

How to apply for VISA of Finland

How to apply for VISA of Finland

HOW TO APPLY

Step 1
Prepare your application and supporting documents:
Go to the “Schengen visas” link on this website to understand the details of visa types. Here you can find information on the photo specifications, documents required, processing times and more.

Step 2
Book an appointment to visit the Visa Application Centre:
You have to schedule an appointment to visit the Visa Application Centre. You can book the appointment online or by calling our Helpline +90…..
Please read the security regulation notice before visiting the center.

Step 3
Submit your visa application:
Visit Visa Application Centre and submit your completed Visa Application Forms along with required supporting documents. Please see the Contacts Us page for the location of the center. For an additional cost, you may request courier delivery of passport to avoid a second trip to the Visa Application Centre for collection of processed applications.

Step 4
Pay application fee:
Visa fee is paid at the submission counter in cash or with demand draft in Indian Rupees. A receipt will be provided for all payments made at the Visa Application Centre.

Step 5
Submit biometric data:
After submitting documents you are asked to proceed to a biometrics booth where your fingerprints and a digital photo are collected.

Step 6
Collect your ready passport:
Track the progress of your application and come accordingly to pick up your passport. If you have opted for courier delivery, your passport will be delivered to your chosen address.
The Embassy of Finland has implemented a change in arrangement for the collection of passport(s) from the VFS Visa Application Centre. With effect from 02 November 2015, third party collection of the documents or passports will not be permitted, except in the following cases:

  • Immediate Family Member (i.e. Parents, Children, Siblings)
  • One member of a group collecting for the entire group
  • A person collecting on behalf of Govt. officials if authorized on the Govt. letter head or department
  • Representative of a company – Authorization letter on the letterhead of the company and the official ID card

If any of the above comes for passport collection they need to carry the following documents

  • Photocopy of Govt. ID card
  • Original ICR
  • Authorization Letter from applicant
  • Applicants who do not wish to collect their documents in person and whose documents cannot be collected by one of the above should pay a courier charge (INR 300/-) at the time of submission.

The applicants are requested to mention the complete delivery address on the covering letter. In case no specific address is mentioned on the covering letter, the passport will be sent to the address mentioned on the Visa Application Form.

This procedural change is to ensure the safe and secure return of documents to applicants.

[Please note that this article is extracted from VFSGLOBAL Website. Refer to the website for more details.]